30 December 2016

Another bag, of course!

What can you do with pre-printed fabric panel that is supposed to be a cushion, but you don't want to make a cushion? Make a bag, of course!


This was given to me with a bunch of other panels. Whoever purchased this panel actually started to quilt it by hand, but it looks like the batting was too small and they gave up. I unpicked it all for a clean start....


I found a matching burgundy fabric to use for the back and handles, and decided to box out the corners using a strip piece technique, but still quilt the front (by machine, of course...)

Once the quilting was done, I cut the strips to the same length as the panel sides - in this case it is not completely square, so the sides and bottom strip were different lengths. I made them 5cm wide finished, with seam allowances at 1cm. Stitch to the seam allowance at the bottom. This will be stitched together later...


Then join the sides to the back, leaving the seam allowance at the base, same as the front


Then the base (leaving the seam allowance) -


Then you can stitch the ends to form the boxed corners :


I put a little fray stop on the corners, just to hold it a little more secure, since there is no lining (that is the dark patches that you can see in the corners)


So, this is how it will look from the right side :


So, this is where I am at, before handles and top....


The handles I made to finish at 5cm, but in hindsight they could have been thinner. Also cut a binding style top piece.

Stitch the side of the handles, turn and press. I like to put the seam down the centre and top stitch along the sides. Find the centre of the front and back, then space out the handles. I tend to space them at 5cm each side, but it doesn't really matter. No rules, right??


Baste in place, then add the binding piece. 


Turned out it will look like this :


However, I didn't like the proportions, so folded it over and top stitched on the seam. No mess, no overlocking to be seen ;) I also added a little button to the centre, for a little bling.


Another one bites the dust!!

27 December 2016

Post Christmas stuff...

Now that Christmas is over for another year, it's time to do some housekeeping - finish some things, clear up my craft table, etc - and first on the list was the book covers (only because they were on top of the pile!)


I had originally bought a pack of 5, with two still to be done. While cleaning up, I found a remnant I bought with skulls on it. Why not cut a skull from the skull fabric? Oh, the irony! 


Found a scrap of red, which was either a low pile velvet or brushed something-or-other for upholstery? Anyway, the eyes and nose needed enhancing, so tried with black and it was ok, but tried with some silver, and it was heaps better ;) And a little yellow flower for a feminine touch....


The other is some scraps that I cobbled together with some train fabric and curtain scraps. I stitched them onto a base but miscalculated the height, so when I top stitched around it, it was too tight. Guess who had to unpick it?? Not fun! Anyway, it turned out OK in the end.....

This time I put some elastic from the back to act as a strap to hold the book together when it was closed. Worked out great, but only if the design doesn't go too close to the front edge.

So, what to do next? Whatever it is, I need to make some room, first! The table has far too much stuff on it to do ANYTHING right now...... ;)

11 December 2016

Make your own Flag Bag

So, the only plan I had with this was that I didn't want it lined afterwards, but rather to build it into its construction. Had to put my thinking cap on, but I think I pulled it off ;)


This is how I did it.....

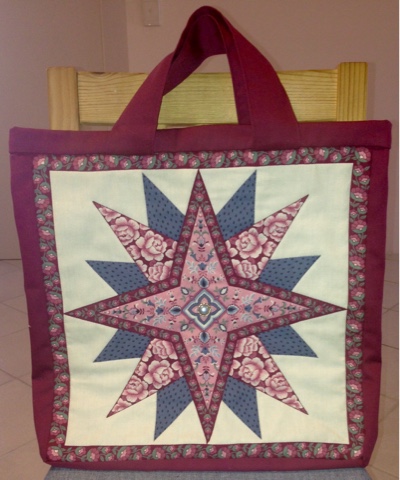
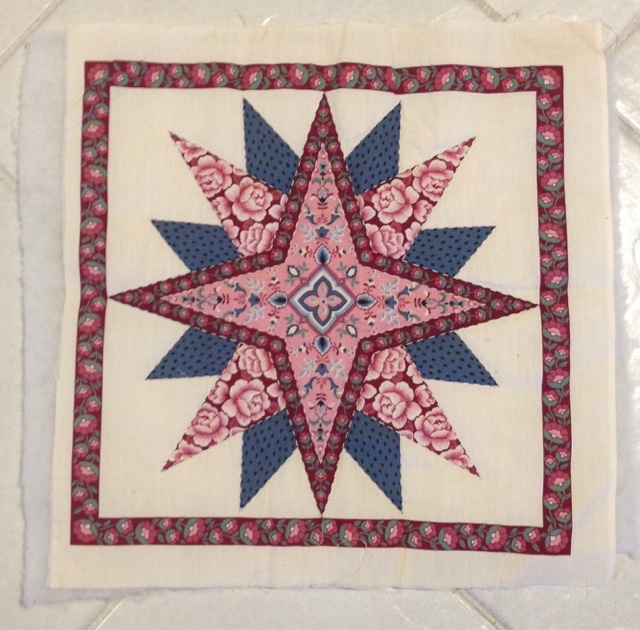
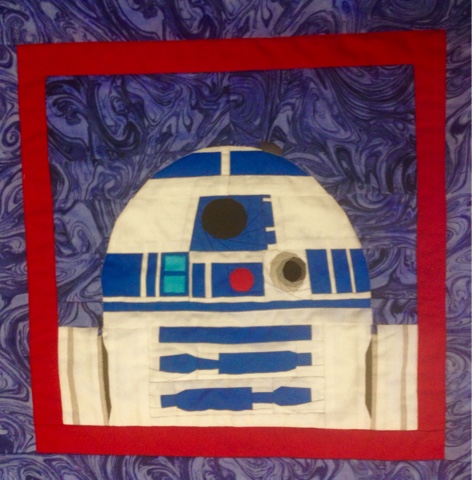
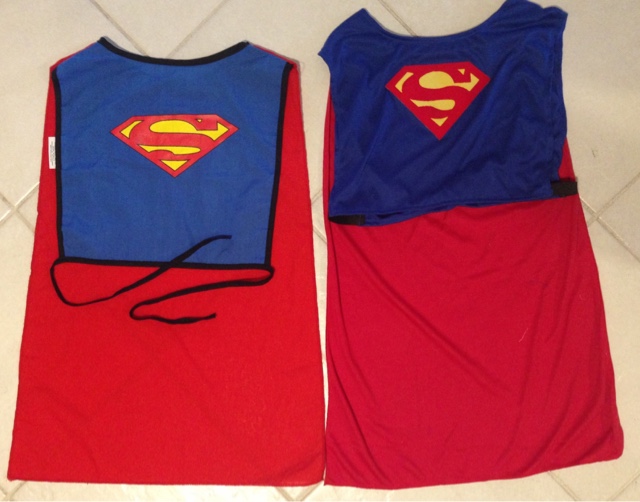
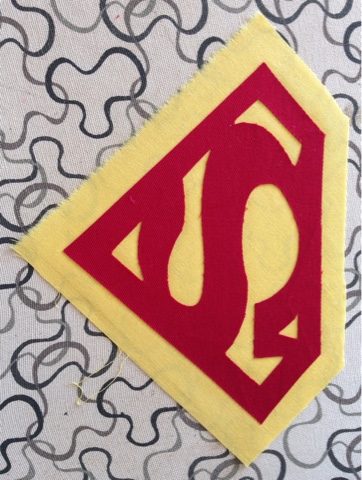
The flag itself is made of a light weight, silky type fabric, which was double sided. I knew that this would not hold up well unless it had some support behind it. It would also help the design to stand out, since it is quite transparent.

Firstly, I removed the stick, which was only being held by a little hot glue. 


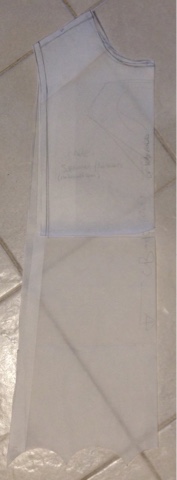
I then roughly trimmed off the seams, to get two pieces of fabric.


I wanted to keep as much width as possible, so after squaring off the top and bottom, I found the halfway point and was able to keep it at 42cm (40cm finished).

Next, I cut 2x strips of navy fabric (in this case 15cm wide) across the total width of my fabric. The bolt just happened to be 150cm wide, so two strips would cover both top, bottom and straps. 

I cut the strip to 82cm (since it is folded, I just needed to add seam allowance to one side, not both). At this stage, I thought I had taken a pic, but it appeared not :( Anyway, I marked halfway from the fold, and across the raw edge. This would become the self lined base.

I decided to further complicate the base to square off the corners. How could I do this?? Aha, I figured it out!!!


With the centre stitched, I folded the corners over and marked the depth of the corner. As it isn't very deep to start with (had I thought of this earlier, I would have made it wider - something to remember for next time!) so it was only 2.5cm from the end.


Mark both ends, both sides, and stitch from the sides to the centre stitching only.


It's a bit fiddly, but stick with me ;)


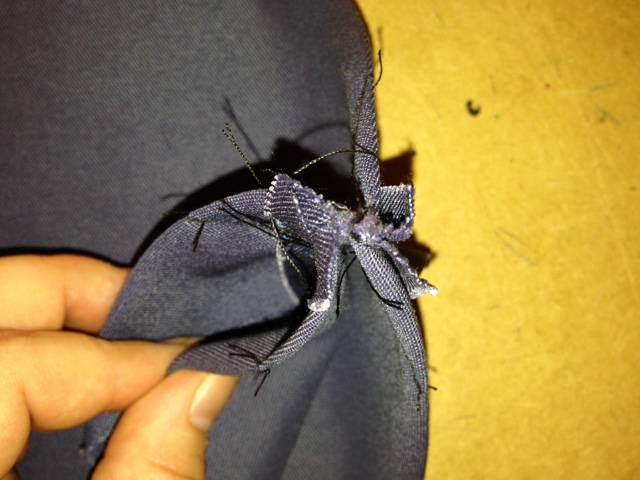
It will look like 4 separate little leaves. So hard to describe....


Trim the seams back, turn it through and you should get what looks like a boat-


From the other side - a self lined boxed corner. Amazing, hey?


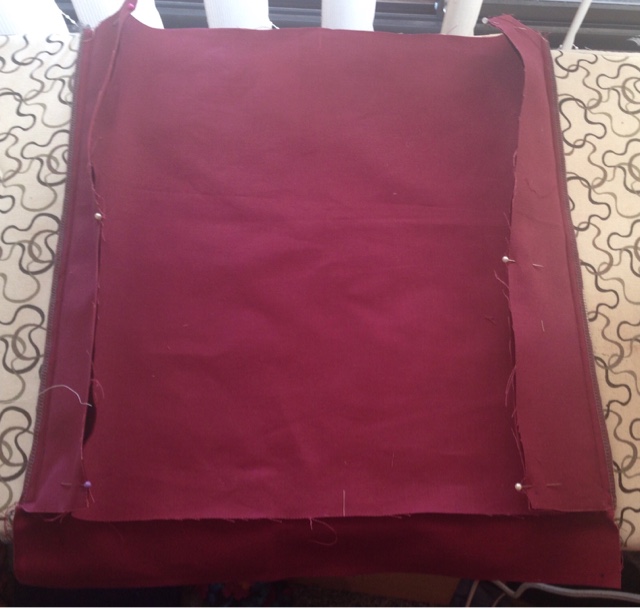
On to the sides ;) I cut a matching lining piece from some curtain lining, with the fabric side out, rubbery side in.


I stitched the sides and the lining pieces into a tube. I also decided to reinforce the sides of the flag pieces, since it is so light weight.


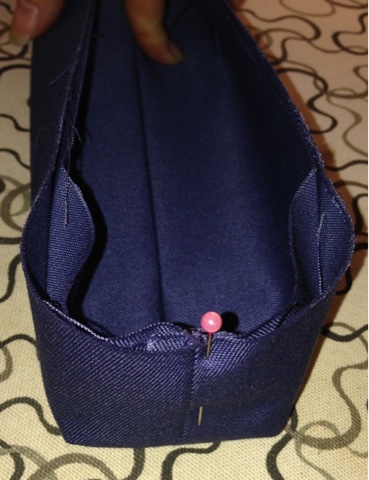
Checking the finished width was 40cm, I stitched the sides to the base.


Then the lining to the other side...


This made the raw edges of the base fully enclosed by the sides. So far, so good!


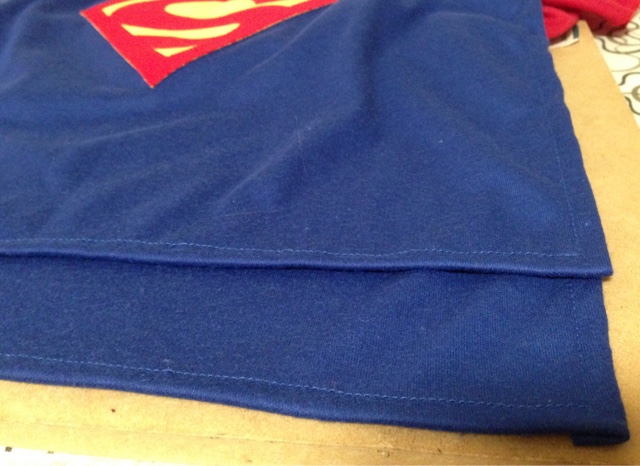
I pressed the seams up, and ran a row of top stitching sound the bottom, for more support. Also, a row of stitching across the top to hold it all together. The flag itself frays really badly, so I tried to handle it as little as possible without stitching it.


Now for the top and straps!

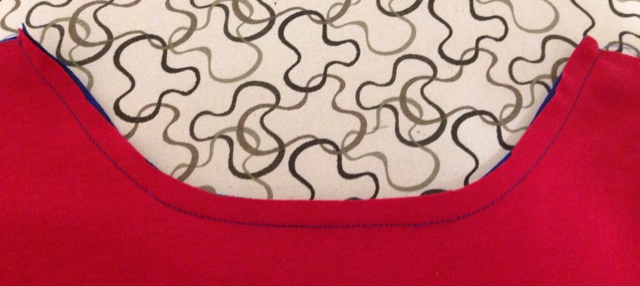
Again, I cut it to 82cm and joined into a circle. Pressed the seams in and in half to make a jumbo binding.


There was enough leftover of the strips to use as the straps, so these got turned, pressed and top stitched. Finished width 4cm, but all the extra fabric did not get trimmed, but kept inside for extra support.


I considered putting the straps on the outside, but decided to put the inside, instead. 

So, I first stitched the binding piece to the front side if the bag, then positioned the straps on the inside and stitch in place. (No pic taken - I was getting excited that it was all working first time!)

Using loads of pins, I turned the facing to the wrong side, making sure the facing covers the existing stitching. From the front, I ran a row of stitching close to the seam, at this stage, avoiding the straps.


Another row of stitching added (could have included the strap at this stage, but didn't. If I was to do this again, I would stitch it down at this point)

Turn up the strap, and run a row of top stitching around the top, catching the straps down. 


Turn right side out, and we are done!!


Lots of technical stuff in this one, but if all seams are accurate, it should be a breeze ;)

04 December 2016

WCE Flag bag

This year marked the 30th anniversary if the West Coast Eagles footy club, and all attendees to this particular game got a commemorative flag. 

What better way to celebrate this achievement than to turn it into a bag?? That way you can celebrate at every game!


Tutorial to follow.... Finished size 40cm x 40cm

12 November 2016

The Force is strong with this one....

My boss is soon to have a baby, so what could I do but make her something special? On her desk is a Storm Trooper and R2D2, so I thought a Star Wars theme quilt would be perfect! :)

I remember seeing a pattern on Fandom in Stitches, and it was a toss up between R2 and BB8, but 
R2 won out. http://www.fandominstitches.com/2010/03/star-wars.html


I enlarged R2 from A4 to A3, and kept the words at the original size. After completing both parts, it was a bit bland, so I framed up R2 in red, and echoed the same for the binding. I would have preferred it a bit wider, but it still looks good (I think?) The backing is a polar fleece blanket from IKEA, but there is also a layer of flannelette to keep stop the grey from showing through the white parts.


I did simple ditch stitching, so you can see the design from the back as well. Pretty cool, huh? I thought the backing would cause me trouble, but it was a breeze to sew - and Bernie only dropped a couple of stitches the whole time. Amazing!


Finished size 70cm x 130cm.

I hope she likes it! I even finished it with a week to spare..... ;) Hopefully, she will send me a pic of the new bubba actually using it, and I can post an update...

08 October 2016

Kate Finn

Many moons ago, I bought a Kate Finn rag doll. She was naked, but still had her original hair style and ties. These were a dark navy stripe, but I was unable to find a match,

I did, however, have a check, so I used that instead. ;)

A little research on the Kate Finn website showed that the rag dolls generally have a shirt and pinafore, with bloomers - really simple and pretty.


So I cut a basic pattern for a shirt, and just some strips for the dress. Once the waist was determined, I  cut the skirt double the width and to the length required plus seam allowances. Hem it up, gather to fit the band and stitch on. Velcro added for closure, and these are done. Plus the bloomers ;)

Buttons added to finish, and we are DONE!!


30 September 2016

Super Troopers - Tutorial

The superhero capes I made recently were based on a sports bib type design, with a cape attached. (Bought one on the left, mine on the right)


Firstly I made my pattern. You could use a commercial pattern or existing shirt as a guide. Basically it's two squares with a head hole, plus a cape. 


Next I needed to do my logo... You can find different versions online, but I have gone with the classic design.


Copy the design onto the back of the visoflix, in reverse. This will be ironed onto the wrong side of the red fabric.


Cut out on the lines, making sure to remove the inside pieces, too!


With the yellow, since it is a bit transparent, I fused some vilene to the back. Use your logo as a guide, and cut out a piece big enough to fit. Iron this onto the wrong side of the yellow fabric. This is optional, but gives the yellow more pop, since the underneath colour can't show through...


You can now peel the back off the red part, and place it on top of the yellow.


One happy with the positioning, iron to secure the glue.


You can now trim the yellow back to the red edge. You could zig zag the edges, but I like to use a raw edge stitch. This is quick, and the iron on adhesive should hold it all together. 


At this stage, I only do the inside, as the outside will be completed when it is attached to the front. I prefer to not back stitch, but pull the threads to the back. I secured with some knots and a drop of fray stop.

You can now stitch the logo to the front. I folded the front in half, same with the logo, and eyeballed the height. Just put it where it looks best ;) 


We can now assemble all of the parts ;)

There is little to do with the cape, except edge stitch. Since this is made from stretch fabric, it was unlikely to fray but gave a better finish. I used matching thread on my over locker and went around the three outside edges, with a dot of fray stop in the corners.

Stitch the cape to the neck, right side to wrong side of the back. Turn righ side out.


With the front, edge stitch the neck. Knit fabric doesn't fray, so I didn't neaten the edges, but if using a woven fabric this will be necessary. Also, the curve is easy to turn, but a woven fabric could use be done with bias binding, but remember to trim the seam allowance first...


Fold the edges under on the other three sides of both front and back.


Now, for the shoulder seams. I had originally planned for the cape to sit flat, but after pinning it, I decided to put a pleat in it to give it a bit of movement. Stitch across both shoulder seams, right sides together.


Last step, add some elastic to the sides.


And that it it!